SSuite Office Software
Providers of Safe and Trusted Software with Pure Visual Simplicity
Creating Templates in SSuite WordGraph
It is always useful to have templates available that you can use and re-use quickly and without re-creating all your hard work everytime when you need it.
Below is a short guide on how to create an envelope template in WordGraph that also incorporates images for a much more colourful and inviting{pardon the pun} envelope cover.
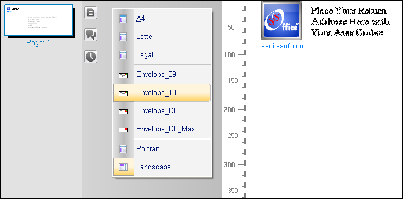
First after opening WordGraph you need to change the paper format to an envelope. In this example we will use a number 10 envelope size.
After the thumbnail print preview has been set to a number 10 envelope, you may add and insert your return address and main address you wish to send the envelope or mail to. You can also add or insert an image to make the envelope cover more attractive. After you've entered and formatted all the relevant information on your envelope, just click on the print preview button to view and print your envelope.
Please make sure you've inserted your envelope paper the correct way according to your printer itself. Some printers have dedicated inserts for envelopes while others just allow you to add the envelope like an ordinary letter or A4 paper. You may print a test page first before committing to the final draft.
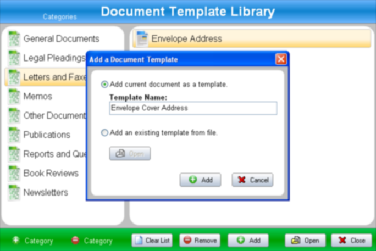
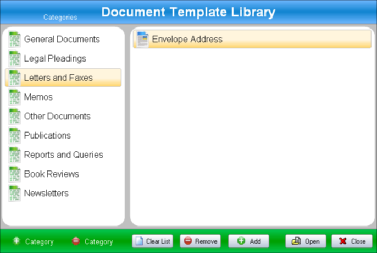
To add your newly created envelope example to the Template Library, just click on the template library button on the right-hand side of the main page, or just go to the main menu and click on "File >> Template Library" to open the main window like the image below.
Click on the "Add" button and select the top option to add the current document as a template. Remember to select the appropriate category for your custom template first.
In both WordGraph and our spreadsheet application Accel, you are able to create an unlimited amount of templates for your own use. Just follow the above steps and you are set for life.
Useful Envelope and Label printing software applications:


